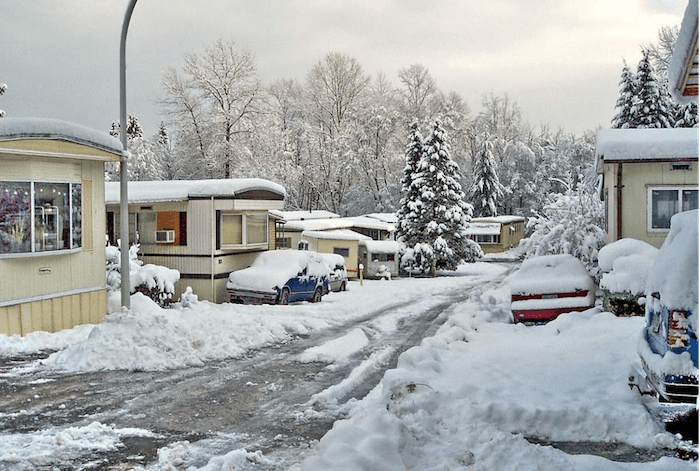
Mobile homes offer a unique living experience, but they also come with their own set of challenges, particularly when it comes to heating, ventilation, and air conditioning (HVAC) systems. Whether you’re facing scorching summers or chilly winters, a malfunctioning HVAC system can disrupt your comfort and well-being. In this guide, we’ll explore some of the most common HVAC issues in mobile homes and provide practical troubleshooting tips to help you address them before seeking professional help.
Inadequate Heating or Cooling
Issue: One of the most prevalent problems in mobile homes is inadequate heating or cooling, which can be caused by various factors such as improper insulation, duct leaks, or an undersized HVAC unit.
Solutions:
- Check Insulation: Ensure that your mobile home is adequately insulated. Poor insulation can lead to heat loss in winter and heat gain in summer, making it difficult for your HVAC system to maintain a comfortable temperature.
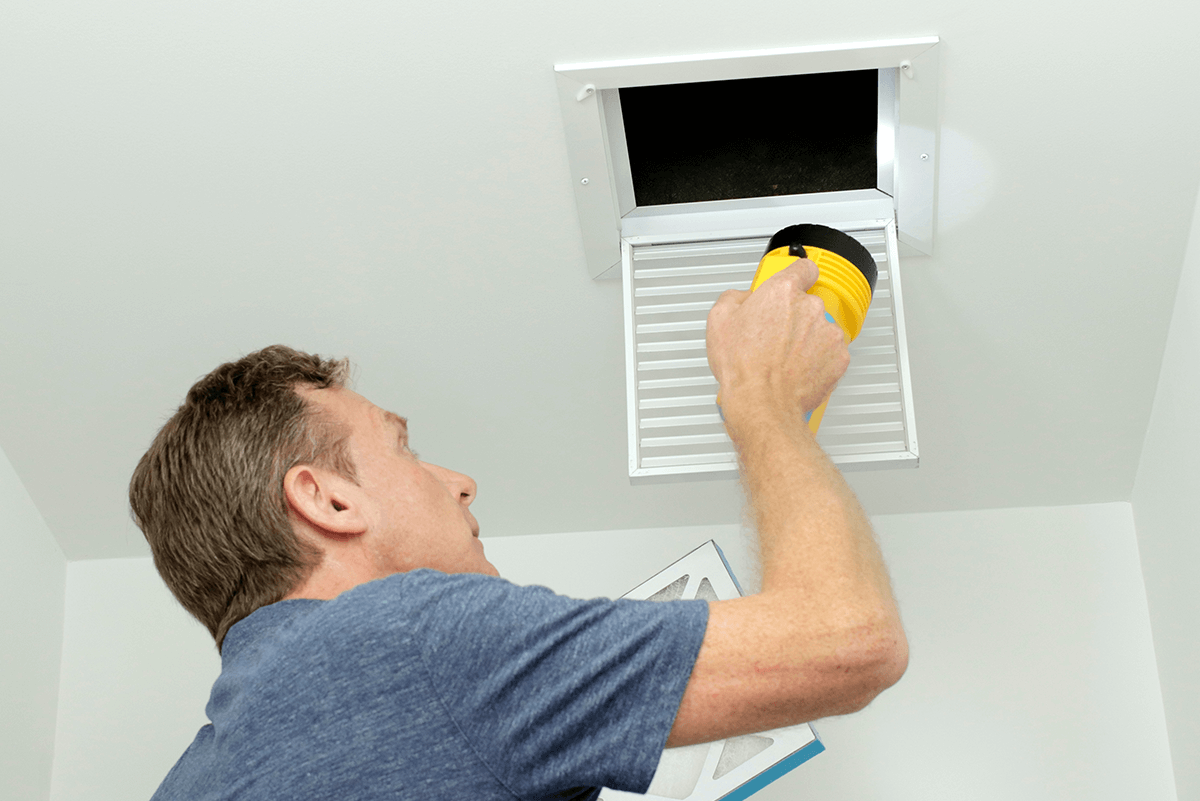
- Inspect Air Filters: Dirty or clogged air filters restrict airflow, reducing the efficiency of your HVAC system. Regularly check and replace air filters every one to three months to ensure optimal performance.
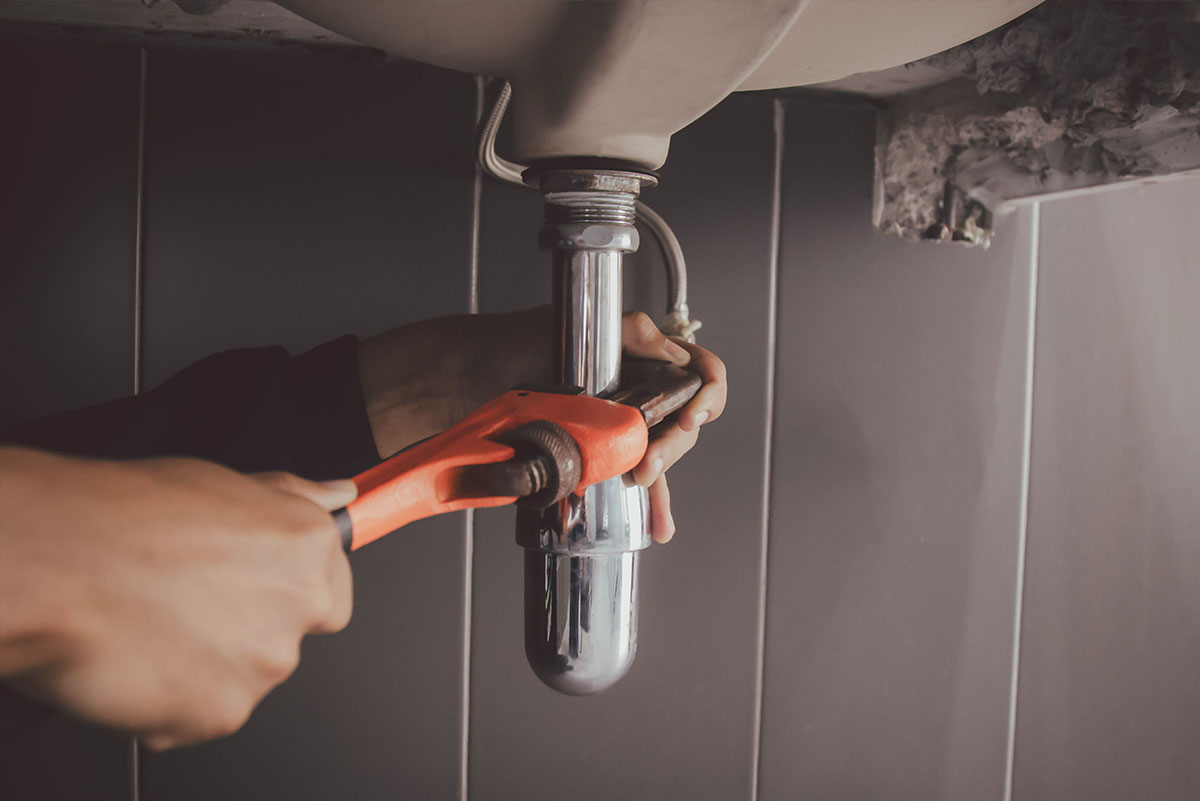
- Seal Ductwork: Leaky ducts can result in air loss, diminishing the effectiveness of your HVAC system. Inspect ducts for leaks and seal them using duct sealant or metal-backed tape.
Uneven Temperature Distribution
Issue: Uneven temperature distribution is a common complaint in mobile homes, with certain areas feeling too hot or too cold compared to others.
Solutions:
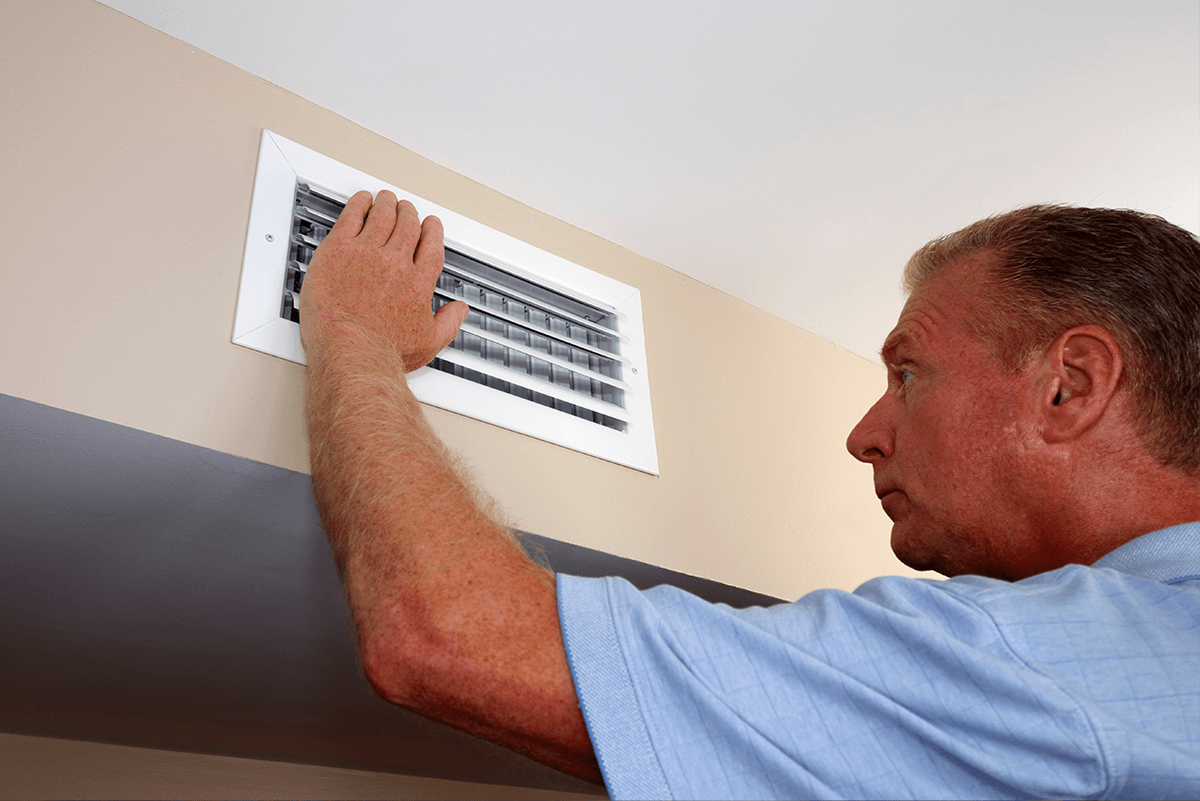
- Check Vents: Ensure that all vents are open and unobstructed. Blocked vents can disrupt airflow and result in uneven temperature distribution.
- Adjust Dampers: Some mobile homes are equipped with dampers in the ductwork to regulate airflow. Adjust the dampers to balance the airflow and improve temperature consistency throughout the home.
- Consider Supplemental Heating or Cooling: In areas with persistent temperature discrepancies, consider using supplemental heating or cooling solutions such as space heaters or portable air conditioners to augment your HVAC system.
Noisy HVAC Operation
Issue: Unusual noises emanating from your HVAC system can indicate underlying issues such as loose components, debris accumulation, or mechanical problems.
Solutions:
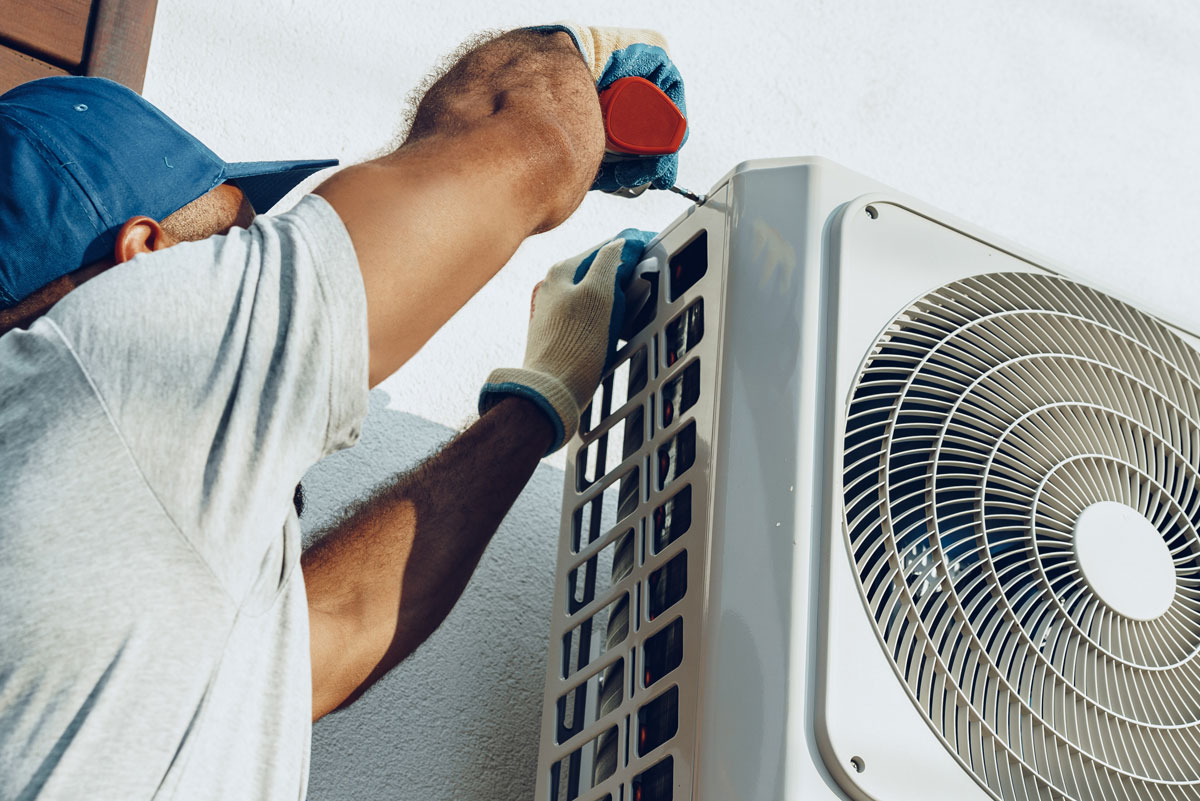
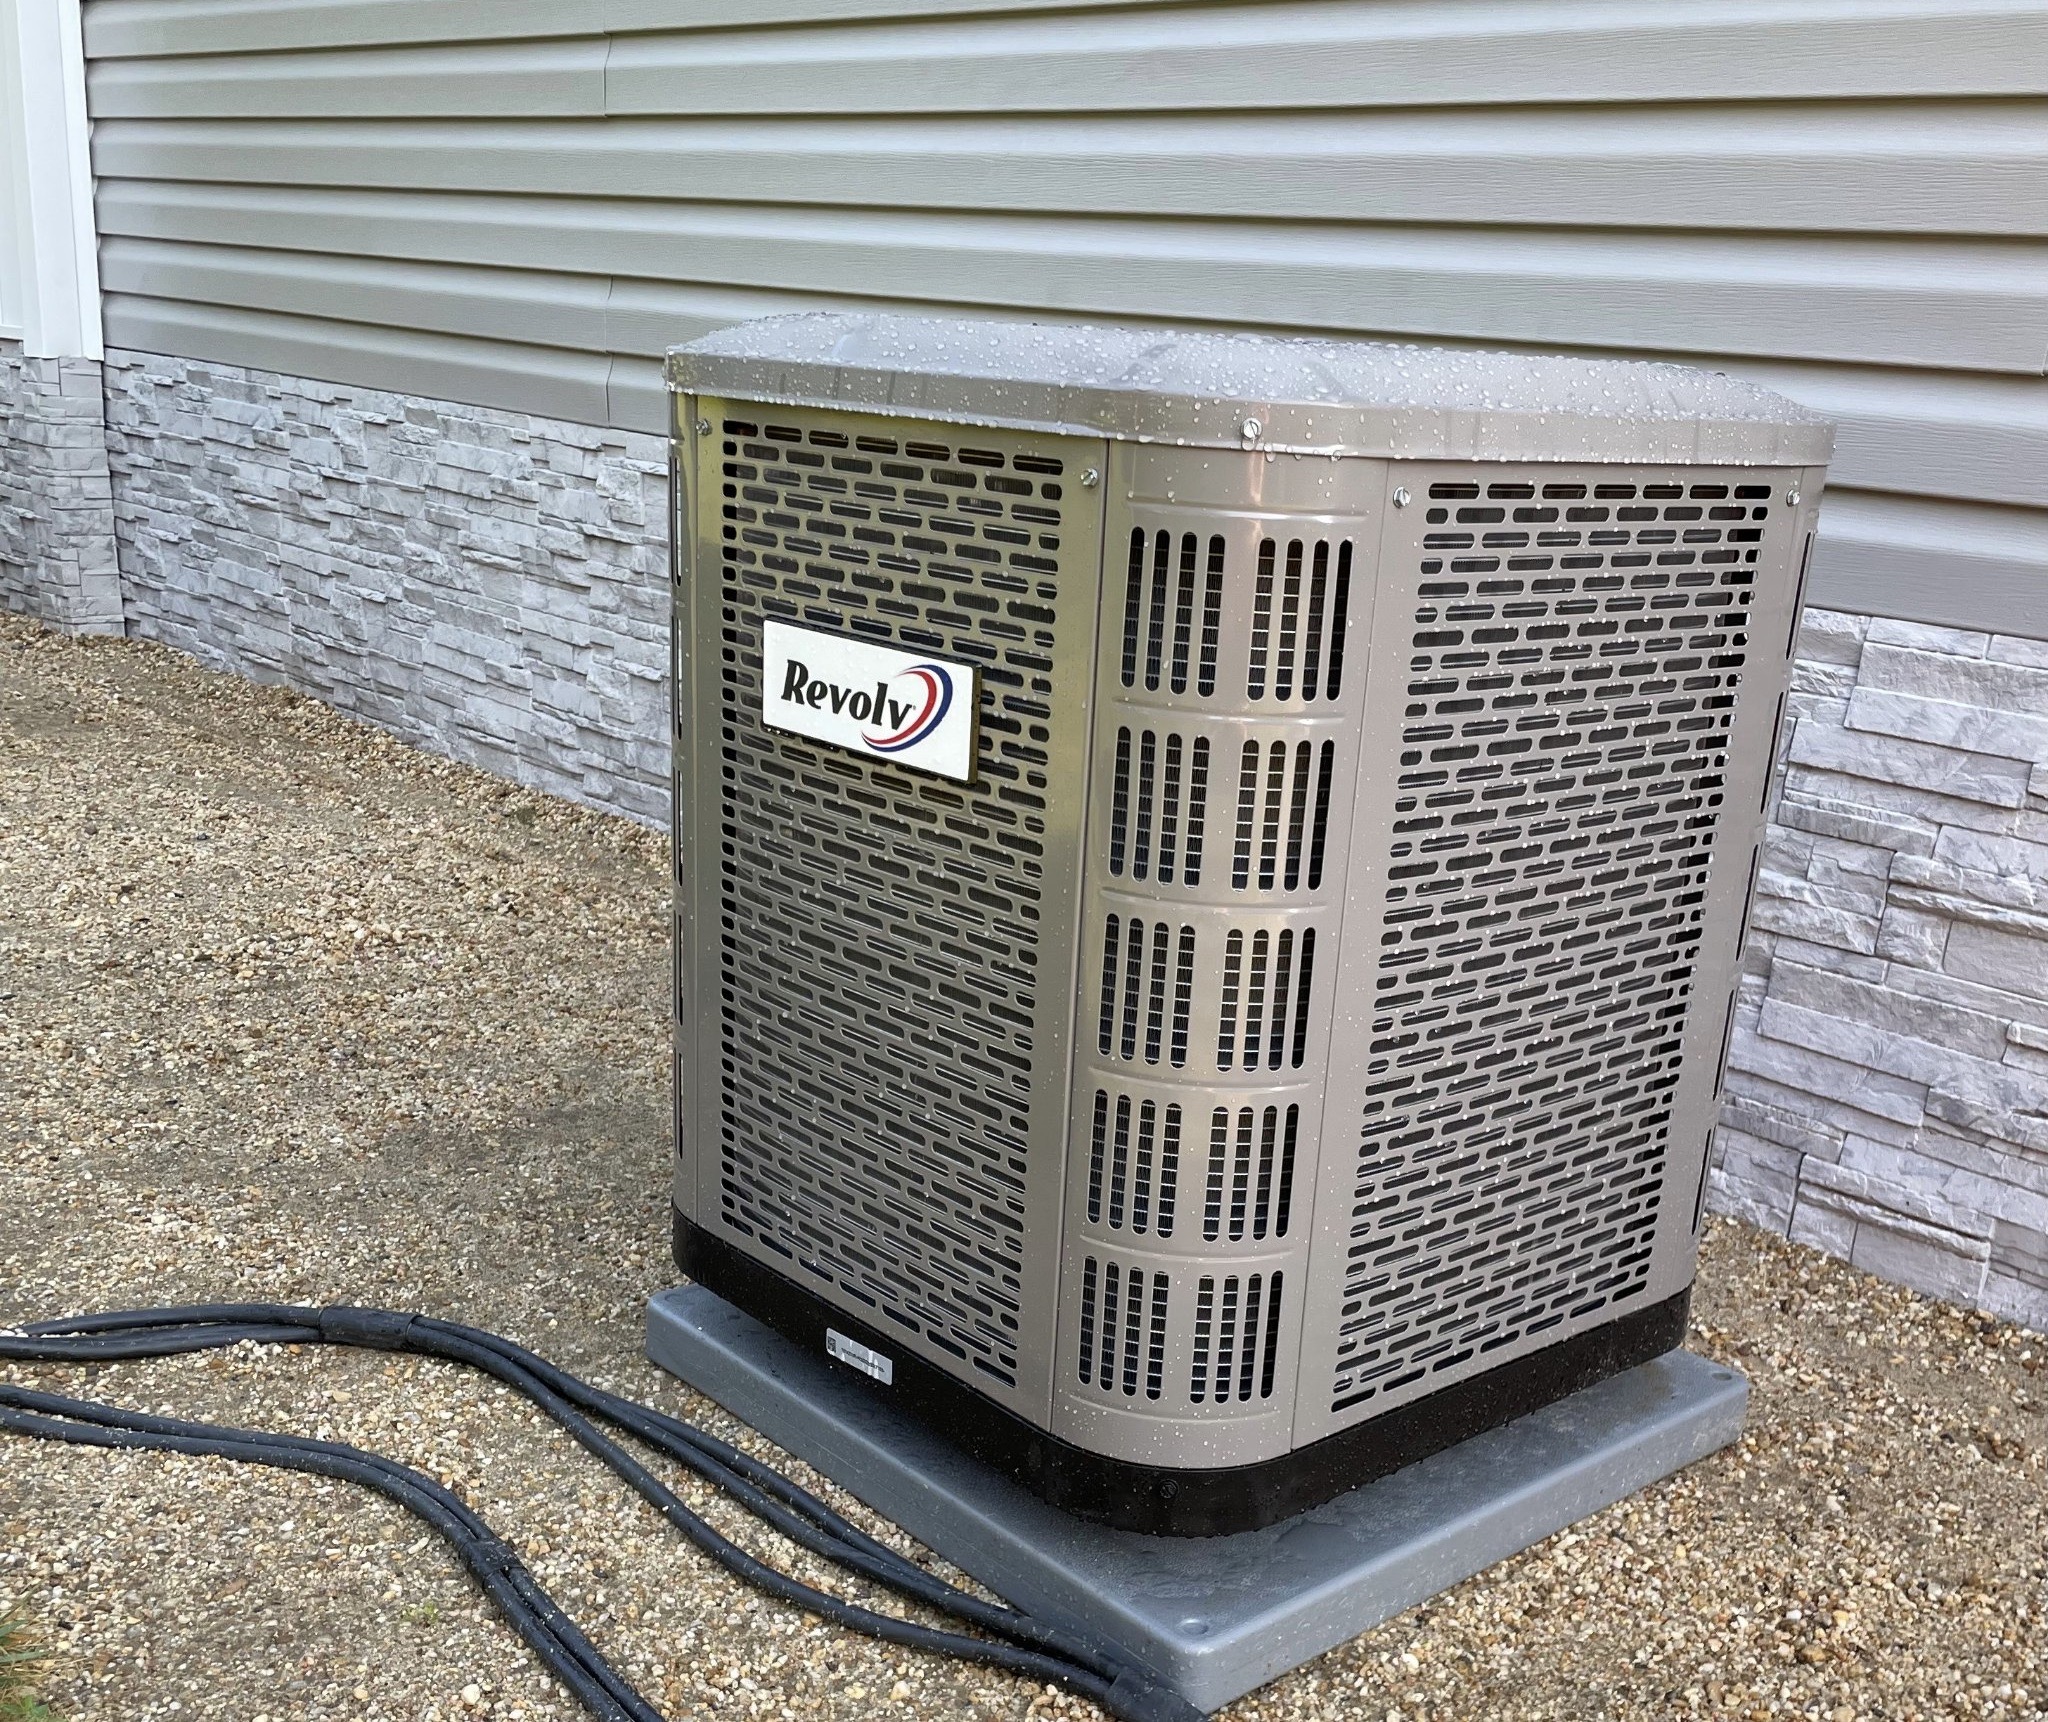
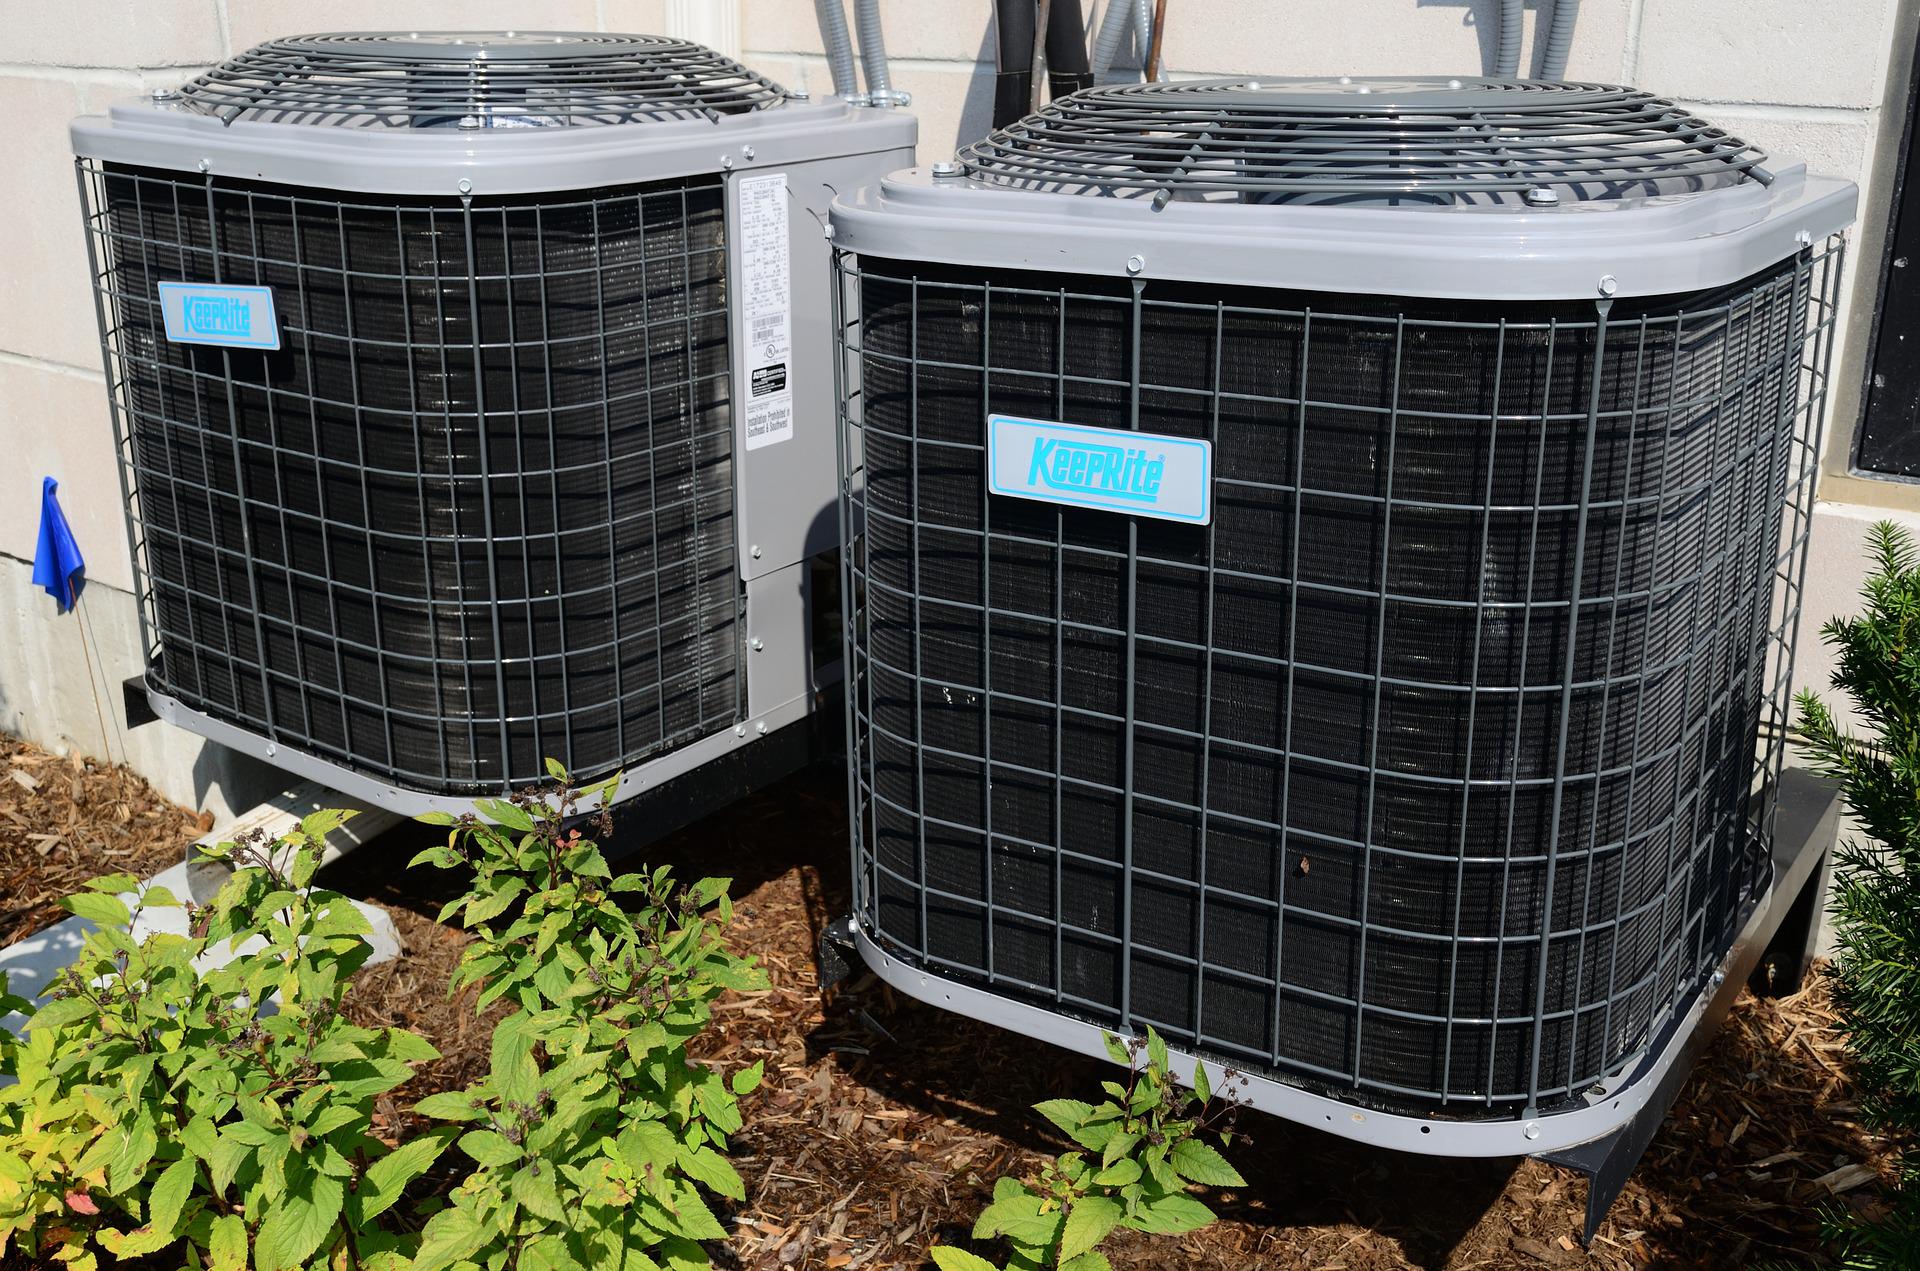
- Inspect Outdoor Unit: Clear any debris, such as leaves or branches, from the outdoor unit. Accumulated debris can obstruct airflow and cause the system to work harder, resulting in increased noise levels.
- Tighten Loose Components: Check for loose screws, bolts, or panels in the HVAC system and tighten them as necessary. Loose components can vibrate during operation, leading to noise.
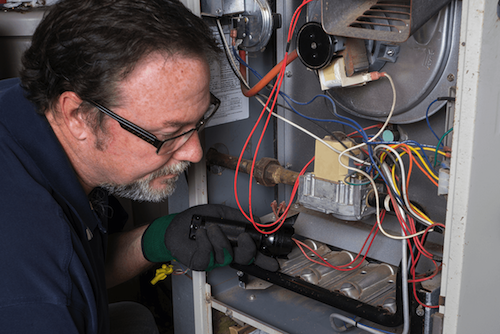
- Schedule Maintenance: Regular maintenance by a qualified HVAC technician can prevent potential problems and ensure smooth, quiet operation. Schedule annual inspections and tune-ups to keep your HVAC system in top condition.
Frequent Cycling On and Off
Issue: If your HVAC system frequently cycles on and off, it may indicate issues such as thermostat problems, dirty coils, or refrigerant leaks.
Solutions:
- Check Thermostat Settings: Verify that your thermostat is set to the appropriate temperature and mode (cooling or heating). Incorrect settings can cause the system to cycle unnecessarily.
- Clean Condenser Coils: Dirty condenser coils can impair heat transfer and cause the system to overheat, leading to frequent cycling. Clean the coils using a coil cleaner and a soft brush.
- Inspect for Refrigerant Leaks: If you suspect a refrigerant leak, contact a professional HVAC technician for inspection and repair. Refrigerant leaks not only affect system performance but can also pose health and environmental hazards.
By addressing these common HVAC issues in your mobile home promptly, you can optimize comfort, improve energy efficiency, and prolong the lifespan of your HVAC system. However, if troubleshooting steps fail to resolve the problem or if you encounter complex issues beyond your expertise, don’t hesitate to seek assistance from a licensed HVAC technician like our HVAC team here at General Supply Inc. With proper care and maintenance, you can ensure that your mobile home remains a haven of comfort all year round!